Wednesday, January 15, 2014

A serendipitous pocket


Well, in truth, it's not the pocket itself that is serendipitous. In fact, this pocket is not going to be particularly useful for anything now that I'm done making it.

But it happens that the goals I listed in my last post included mention of welt pockets as a technique that has left me confounded. And then, ta-da, Carolyn of Handmade by Carolyn posted a very clear and detailed tutorial on double-welt pockets. What made her explanation work for me where others have failed is not only her detailed step-by-step approach with photos but also her description of where you have to be precise and just how precise you have to be.

Mine is not perfect—the sides are just a bit off vertical, and the upper and lower welts overlap a little at the ends—but it pleases me no end. I do need to figure out how to make a skinnier button loop without having my machine eat it as I sew. (I have a couple of ideas on that: get a throat plate with a smaller hole, and start with a wider bias strip so that the feed dogs on at least one side have something to grab onto.)

So now I have a pocket on a patch.


An entertainment note:
Along the lines of my earlier plug for GeoGuessr, which I still think is one of the best online games ever, take a look at Kern Type. The instructions read, "Your mission is simple: achieve pleasant and readable text by distributing the space between letters." Tell me I'm not the only one who finds this addictive, please!

Friday, January 3, 2014

Goals for 2014 and a skirt from 1999


Poor blog, left to languish all through November and December. I have in fact been sewing, just not posting. There are a few things to show once I manage a photo session or two. In the meantime, I've been thinking about my sewing goals for 2014.

Some of the goals are kind of general:

-Improve my technique. This is a perennial goal, and I am slowly improving, but I could work a little harder on this. How about zippers, invisible and otherwise? Why do they still make me nervous? If I just buckle down and do a whole bunch of them, surely they will lose their scary power. Welt pockets? I tried to follow instructions for them once and had a hard time -- but I've done a lot harder things in my life, time to try again.

-Sew more to my personal style. My usual scattershot approach -- what a great fabric, oooh this pattern looks interesting -- too often leads to a kind of mishmash of garments that can't be worn with anything else and don't even look like me. I'd like to be more thoughtful about making clothes that will fit well into my closet and that I will pull out to wear because they just feel right.

-But at the same time that I'm being more thoughtful about my choices, I'd like to sometimes have more fun sewing. Experiment more, let loose, try lots of things knowing that some of them won't work and not worrying about it too much. It's just fabric, and time. For example, I've had the Pattern Magic books for over a year now and haven't tried anything. What have I got to lose? It might be fun.

So all of the above are things I have worked on and will keep working on. But there are two areas in particular that I want to focus on this year, ones that I think are essential in order to improve my (sewing) life, not to be overly dramatic about it.

-Get more comfortable with blogging, which is to say, get more comfortable with taking and looking at photos of myself. I love the fact that there is this sewing community out there and I want to be a part of it. I am inspired and uplifted by the blog posts I read and the interactions I see. Aargh, why let silly self-consciousness get in the way?

-Learn how to fit my clothes better. I so often find that the fit of what I sew is off; my body is no longer the youthful, out-of-the-envelope shape that I like to think it once was. It's time to learn what needs to be done. Somehow this has stymied me, with all the different approaches out there. I have bought the Craftsy class Fast-Track Fitting with Joi Mahon and will start that soon. The book Fitting and Pattern Alteration is in my library; my first glances at it have left me with more questions than answers, but I will make a project of working through it this year. I would welcome some hands-on help, but I haven't found anything closer than Boston, and driving down there regularly will have to wait until winter ends.

In the meantime, to get some photos into this post, I've found some old pictures of an even older Burda skirt pattern I've made up twice. Yeah, it's from 1999. I loooooove this pattern. Here is my review of it from a few years ago. It has a nonbulky, no-waistband waist, and the O shape, as Burda calls it, works for me.


I may yet turn this into a TNT by making it up in some of the many skirt-suitable fabrics in my stash. The shape is even more outdated now than when I first made it, but by my reckoning it's due to come around again as a trend any time now. And then I'll be ahead of the game, right?


Fun things to do in the northeastern U.S.:
Quick, go see the exhibit Future Beauty: Avant-Garde Japanese Fashion before it closes on January 26. It's at the Peabody Essex Museum in Salem, Mass. Really, it's very interesting, and much more extensive than I expected. No photography was allowed, sadly, so I can't show you anything here. Some of the clothes are just plain . . . weird. But some of them feel like epiphanies. The very best part is that there is a rack of clothes by various designers for museum visitors to try on.

Happy new year to all!

Tuesday, October 29, 2013

Ratty old sweatshirt redux


I try to look decent when I'm out and about, but once I'm in the house, comfort trumps all. My usual at-home uniform consists of yoga pants worn with a favorite tank top, T-shirt, sweatshirt, or sweater, depending on the temperature. Sadly, my go-to sweatshirt is nearing the end of its life. It is still wearable (just), so instead of taking it apart to make a copy, I rubbed off the pattern pieces. Ta-da! I have reproduced the favorite sweatshirt in all its baggy, threadbare, drop-shouldered glory. Okay, not threadbare yet, but it will get there; I have been wearing it for three days in a row now.


To attach the bands, I followed the method described here by Jorth. My neckband sits differently because I wanted the grain on it to run opposite that on the body of the shirt. The fabric (a French terry from Fabric Mart) has very little stretch on the cross grain, so the neckband stands up rather than lies down against my neck. I basted first just to see, but turns out I like it better this way.

I stabilized the shoulder seams with silk organza selvedge to help this top keep its shape. And if the overall shape is a little less than flattering . . . well, so was that of the original.


Audio files: One of my favorite podcasts to listen to while sewing is Slate's Culture Gabfest. Here I go now to listen to the latest one.

Tuesday, October 22, 2013

A task to gladden a Virgo's heart


Thread tracing!


Look closely to see the chartreuse stitches around the edge of the pattern piece.

This is not the machine tracing that is sometimes done on a muslin, but hand thread tracing that you do right on the fashion fabric to mark stitching lines and grain lines, as described in Part 2 of the Little French Jacket Sew-along. (An explanation of the distinction between the two types of thread tracing by Coudremode helped remove my little bit of confusion about it.)

Performing this step in the construction of the jacket definitely checked off some of my boxes. Come up with an excuse to buy gorgeous silk thread in several bright colors (check!). Learn a sewing skill whose existence had not even occurred to me before (check!). Get to hang out downstairs with my husband and son, and a glass of wine, while making progress on a sewing project (check!).


The pattern I'm using is Burda magazine 02-2013-107, a Chanel-type jacket with a V-neck and a curved hemline.


My fabric is a wool tweed bouclĂ© from Gorgeous Fabrics: black with plenty of blue and gray and some flecks of off-white, green, and ochre. Very soft and pretty, not nearly as "carpet looking" as it somehow comes across in the photographs.


I'm very much enjoying this sew-along. Next up is quilting the lining to the fashion fabric, another new-to-me skill.


A reminder about roasted vegetables, so good at this time of year, at least for those of us in the colder parts of the northern hemisphere: Cut up some of your favorites (here, it's sweet potatoes and turnips, soon to be joined by chunks of onion and celery), douse with olive oil, sprinkle with salt and any herbs you like, and roast in a hot oven until caramelized and delicious.


How's that for getting some color into this otherwise monochromatic post?


Monday, September 30, 2013

Onward and upward


A friend asked me this morning how my sewing was going. And I heard myself answering with words like "horrible" and "fail." Luckily for me, putting it into words, especially to this sympathetic and upbeat friend who sees the humor in many things, gave me exactly what I needed: a reminder to just get out of my own way already.

What I had found so dispiriting was a run of false starts and poor fabric and pattern choices, but on reevaluation no harm was done and in fact I learned a few things.


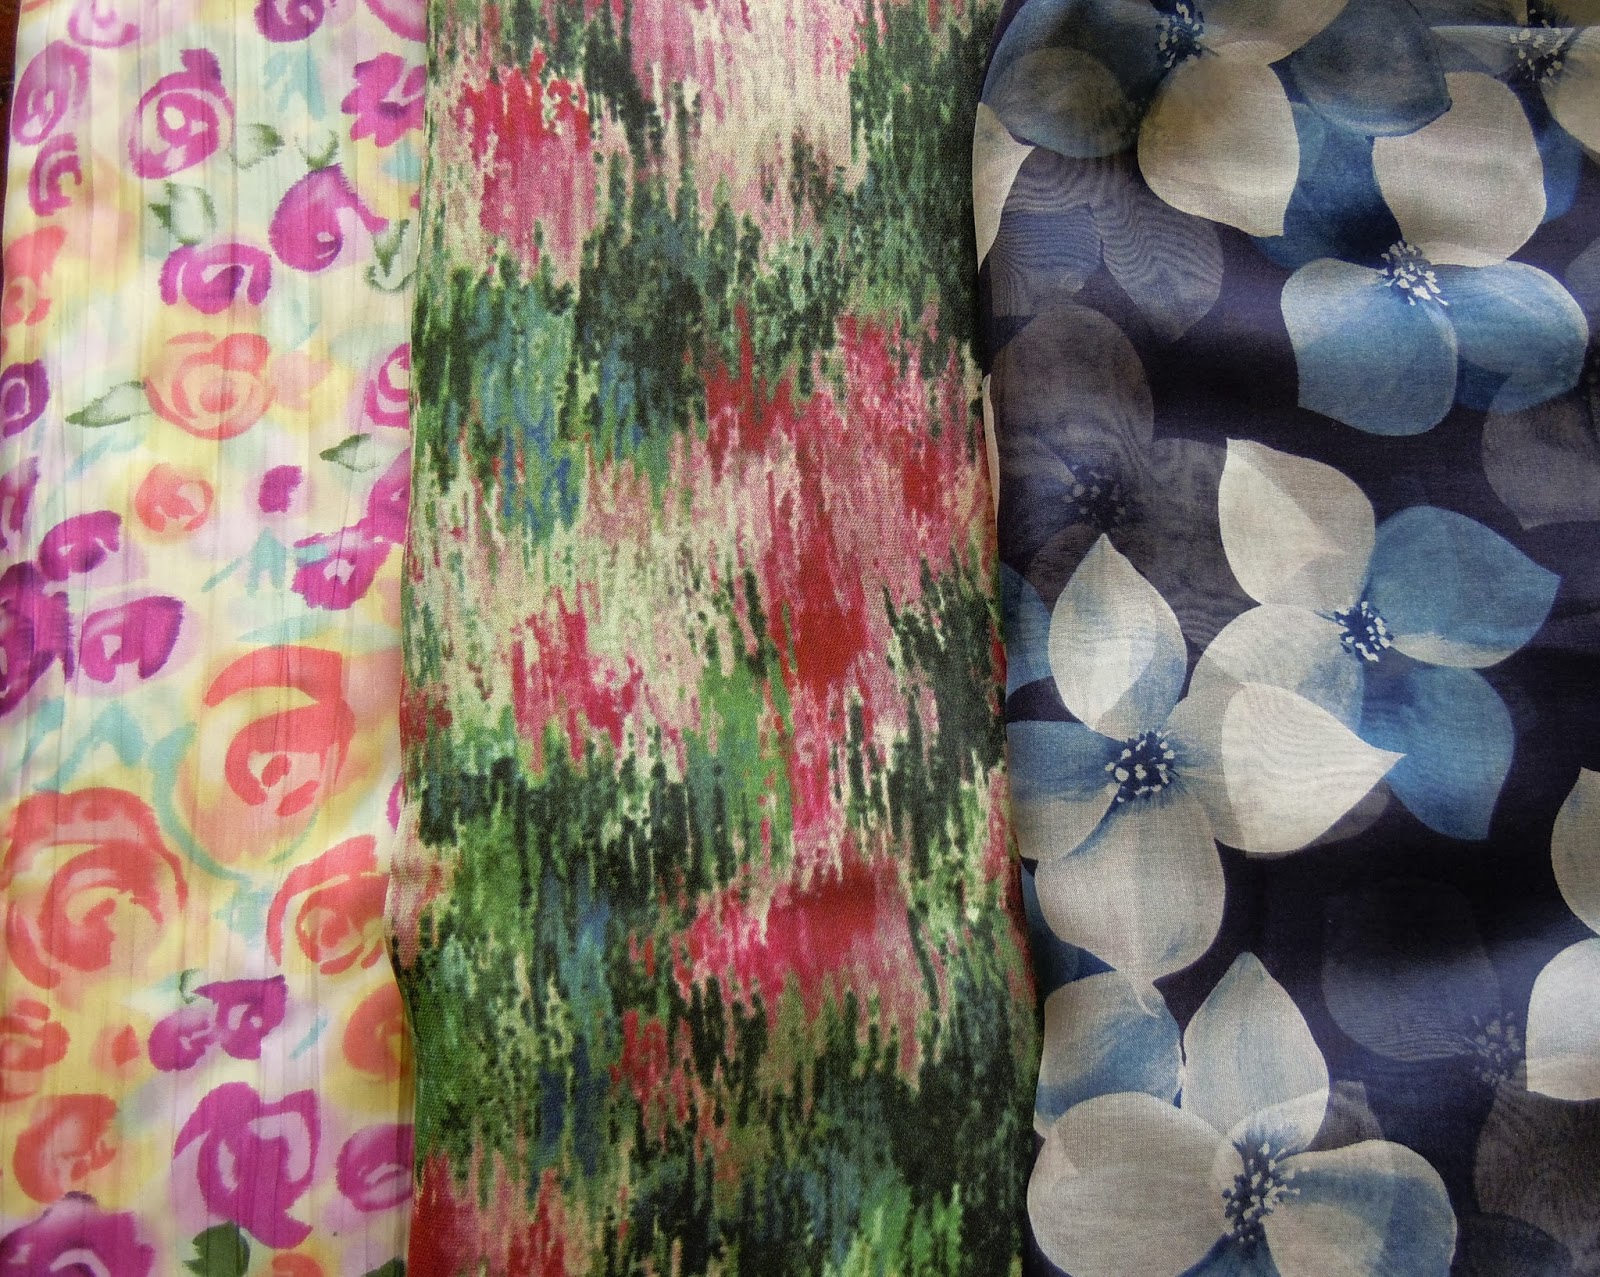
First up, a slip dress that was intended to kill two birds with one stone. One of the birds was Vogue 1287: I bought it for the dress but decided that its pleats and loads of fabric were not likely to be flattering on me. Slight pang over having bought a pattern that wouldn't be used. But wait, wouldn't the included slip make a nice little dress for the boudoir? The second bird was some beautiful and beloved georgette in my stash that I was having trouble visualizing as a garment; it's the middle one here.


Unfortunately, working with this georgette on the bias turned out to be beyond me. Even after experimenting with settings and presser feet, redoing seams, etc., I still had wonky side seams and spaghetti straps that went thick-thin-thick-thin. No picture of this one. The good news is that the slip fits and flatters, or, you know, it will when I make it up in a fabric I can handle.


Next, the lovely draped-neck dress that is Vogue 1351. I made this in a blue cotton jersey, leaving out the zipper and cutting it a bit longer. It was a pleasure to make, I like the fabric, the size is right (12 at the bodice grading to 14 at the hip), but . . . it just does not look good on me. Really. I have noticed this before about draped and cowl necks on me, as much as I like them in theory and on other people. Lesson learned. Or relearned.


There have been a few other issues with makes that didn't get as far as these two, and a missing invisible zipper foot, and so forth, but you get the idea. I was starting to lose confidence in my ability to make a garment I can live with.

Is all this as dire as I thought? Far from it! I'm getting to handle fabric . . . having fun reading other people's blogs and tutorials . . . trying things out, learning as I go . . . above all, I'm lucky enough to have the time and leisure to sew. Now that some beautiful autumn days and a chat with a friend have restored my perspective, I am off, with renewed energy and optimism.


Cooking note: If you're interested in home-style Chinese cooking (i.e., not the elaborate banquet dishes and not what passes for Chinese food in too many restaurants, at least in my part of the U.S.), take a look at Fuchsia Dunlop's Every Grain of Rice: Simple Chinese Home Cooking. We have been eating some very good dinners around here. You do need a Chinese grocery for some of the ingredients, but above is an example of the very useful pages that help you find what you want once you get there.

Saturday, August 31, 2013

Vogue 1310: So this is what they mean

. . . when they say working with silk charmeuse can be a challenge. It was tricky to cut out, and sewing a decent seam took total concentration. Most of all, though, as the judges love to point out on Project Runway, charmeuse highlights every imperfection in the final garment.


This is the top from Vogue 1310, a Chado Ralph Rucci design. The minimalist simplicity (or apparent simplicity anyway!) of this top pushed all my buttons.

A note on the fabric requirement: When I went fabric shopping in NYC a couple of weeks ago, my list said that this top needed 2 1/4 yards of 60" fabric, and I felt certain I had noted it down wrong. For a simple sleeveless top? I bought 2 yards of 45" fabric. Of course, it turns out that the top is cut on the bias and self-lined, and it does take that much fabric. I wanted to keep the self-lining, so I experimented and found that shortening the top by 2 inches made it so I could fit everything on the fabric I had. The shorter length seems fine in the finished top. The hem does flare out a little more than I would like, but I suspect this is from my inexperience with charmeuse and with fabric cut on the bias, so that I unintentionally stretched the fabric while hemming it. Here it is untucked:


Sewing on this fabric was especially difficult because the bottom of my presser foot looks like this:
Can you see that pieces of the finish have peeled off? No, no, no. Not the way to sew with charmeuse. I pushed on through, so to speak, but I also finally ordered a new #1 foot, along with an invisible zipper foot, which was not easy to find for my old-style mechanical Bernina.


Considering that the pattern has only two main pieces (plus two for interfacing), this top was surprisingly labor intensive. Basting sew-in interfacing (silk organza) in place, basting twill tape to the neckline and armhole edges to stabilize them, understitching the lining by hand, and basting the hems of the shell and lining, all on this very slippery fabric, meant that I spent more time than expected with needle and thread in hand. I actually like hand sewing -- just didn't realize there would be so much of it.


I'm not thrilled with the results I got with the stabilizing twill tape. I stitched the 1/4" tape right down its center over the seamline when stitching the shell and lining together at the neckline and armholes, as the instructions say to do. As I feared, though, this meant that when I turned the lining to the inside and pressed it, I had to either press the twill tape in half lengthwise (hard to do and looks bulky), or let the shell project 1/8" past the lining, which means there is an excess of lining fabric in the shoulders. Maybe it would work better to stitch along one edge of the tape rather than down its center? Also, curving the twill tape to fit the curve of the seam made the tape try to stand up on its edge, for lack of a better description. Just not at all convinced I did this part right. The armholes in particular came out a bit wonky. If I make this up again, I'll make the armholes bigger, too, since I don't have twig arms like the model on the pattern envelope.


And there we are: another piece of clothing for my life in rural New Hampshire ;-)


Pattern review is here.


Book notes: Trying to read more novels that have come out recently, instead of lagging behind by at least 10 years as often happens. I'm well into A Visit from the Goon Squad by Jennifer Egan just now, and I'm finding it moving, surprising, and delightful.

Friday, August 2, 2013

Under the wire: The Victoria blazer

My Victoria blazer is done, and just in time for the end of the sew-along!


This jacket was a delight to make. Many of the details were new to me, including the French-seamed cuff with a slit, the way the lining is put in, and the dart that continues right into the neckline seam. Nothing was difficult to do, but it had plenty going on to keep it fun and interesting.


(I am slightly disturbed to see that in some of my photos, it looks as if I have nothing on underneath the jacket. But these are the photos we got, and now the light is gone, so you will just have to believe that I'm wearing a white tee shirt that pretty much matches my pale white skin. Have I not been outside at all this summer?)


I used a linen/rayon print for the shell and a light blue cotton lawn for the lining, both from Mood. The lawn was described online as sky blue, but I would call it something more like a grayed-down robin's egg blue. It was in fact exactly what I was hoping for. You can see some of it in this photo, but it looks much paler here than it really is; it too appears to match the white tee shirt!


This might be a good place to mention that my sweet husband took these photos on his iPhone, insisting that it takes better photos than my camera. The jury is out.


See, camera that was intended for picture taking is in my hand.


I first used my lining fabric for the pockets, but I wasn't happy with how it looked. Even though the pockets are inset a quarter inch past the seam, the contrast between the two fabrics was too much. So I took those pockets out and redid them with the outer fabric. A before photo:


And an after photo, where I can put my hand in my pocket without exposing a startling flash of pale:


This blazer does have a bit of a bubble or "O" shape, which you can see in the photo to the left. I think of this shape as a 1980s thing, and I wondered whether it's really right for my body type/age (you know, people who wore them the first time around . . . ) but I've decided I'm good with it as a casual cover-up.


Thank you, talented people at By Hand London!